How to Clear Land for a House: Site Prep Guide
Learn how to clear land for a house with this practical site prep guide. Discover steps for permitting, selective clearing, erosion control, and costs.
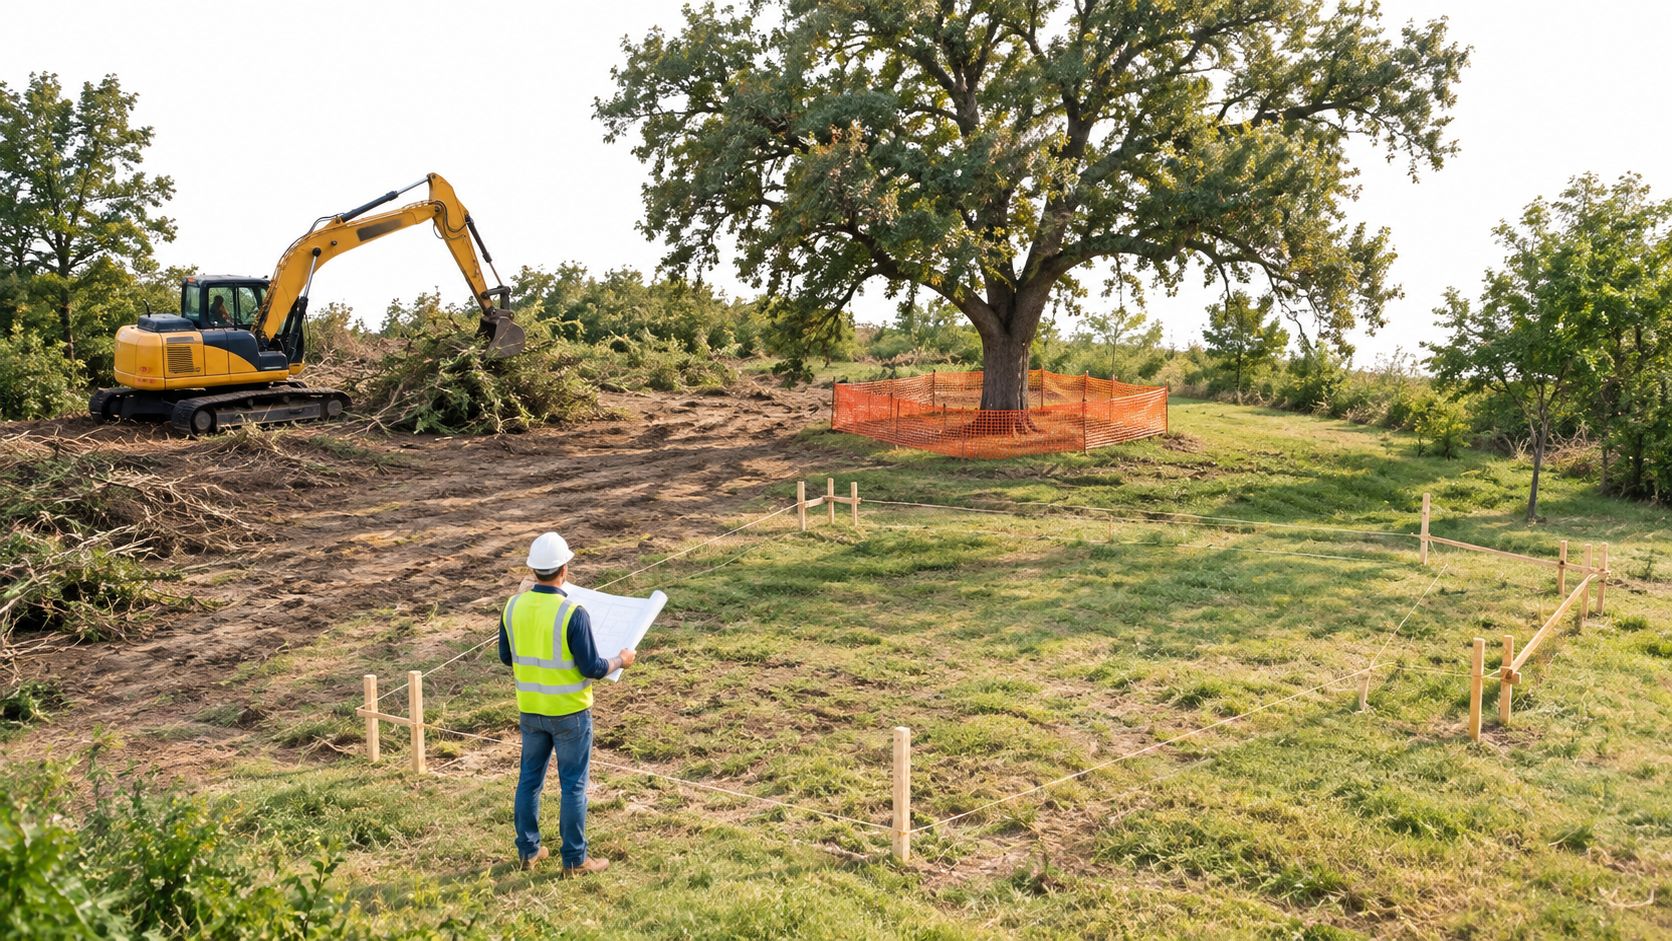
The popular advice is simple: rent a bulldozer, scrape the lot clean, and start building. That approach can work on a carefully surveyed, uncomplicated homesite, but it often creates avoidable problems on rural Texas acreage. It removes shade and privacy, damages mature tree root zones, exposes soil to runoff, and may put the project on hold if permits, utilities, wetlands, or drainage constraints weren't checked first.
Learning how to clear land for a house means planning the finished property before choosing equipment. The right result is usually a defined building area, dependable construction access, workable drainage, protected trees, and enough surrounding vegetation to keep the land useful after the house is complete. Clearing is only one part of site preparation. The larger task is turning raw ground into a stable, accessible homesite without damaging the acreage you intend to keep.
Table of Contents
- Navigating Permits and Site Assessments
- Mapping the Building Envelope and Access Routes
- Choosing Between Selective Clearing and Forestry Mulching
- Implementing Erosion Control and Phased Grading
- Budgeting for Site Preparation and Land Improvement
- Executing the Final Property Walkthrough
Navigating Permits and Site Assessments
A bulldozer isn't the first tool you need. A site plan, a utility-locate request, and a conversation with the relevant local offices should come first.
Clearing near lakes or streams, disturbing more than about 1 acre, or working in regulated areas can trigger erosion-control, stormwater, wetland, grading, tree-removal, or burn permits, according to Michigan's land-clearing best management practice guidance. Local requirements vary, so treat those triggers as questions to investigate, not as a substitute for confirming the rules that apply to your parcel.
Start with the constraints you can't see
Ask the county or municipality whether the proposed disturbance requires a site plan, drainage documentation, inspections, or erosion and sediment controls. If the property is near a creek, stock pond, wet area, or mapped drainage feature, ask whether a wetland or environmental review is needed. A tree-removal rule may apply even when the trees stand outside the future foundation area, particularly in regulated communities.
Utility checks deserve the same attention. Confirm the location of buried electric, gas, water, telecommunications, and private lines before anyone digs, grubs stumps, or cuts a driveway corridor. A rural property can have service lines that aren't obvious from the road, along with easements that affect where you can build, stage materials, or install utilities.
Practical rule: Don't define the clearing scope until you know where the house, driveway, septic or wastewater area, utility routes, easements, and drainage paths can legally and physically fit.
A soil review also changes the plan. Low areas, expansive soils, shallow rock, old fill, and wet ground may affect the building pad and driveway, even if the surface looks firm during a dry site visit. You don't need to solve every foundation question during clearing, but you do need enough information to avoid placing the homesite where grading or access will become needlessly difficult.
Turn the long-term vision into a first phase
A homesite should serve more than the foundation. Think about where delivery trucks will enter, where equipment will turn, where a future barn or shop might go, and which trees provide afternoon shade or a visual buffer from the road. The first clearing phase should open what construction needs while leaving the rest of the property manageable and intact.
For a Texas-specific perspective on coordinating local conditions, access, and land use before equipment arrives, review this guide to land clearing in Texas. The useful question isn't “How fast can the lot be scraped?” It's “What work must happen now, and what disturbance can wait until the building plan is confirmed?”
Mapping the Building Envelope and Access Routes
Once the regulatory and physical constraints are understood, mark the property on the ground. Use a current survey where available, flagging, stakes, paint, and a written clearing plan that a machine operator can follow without guessing.
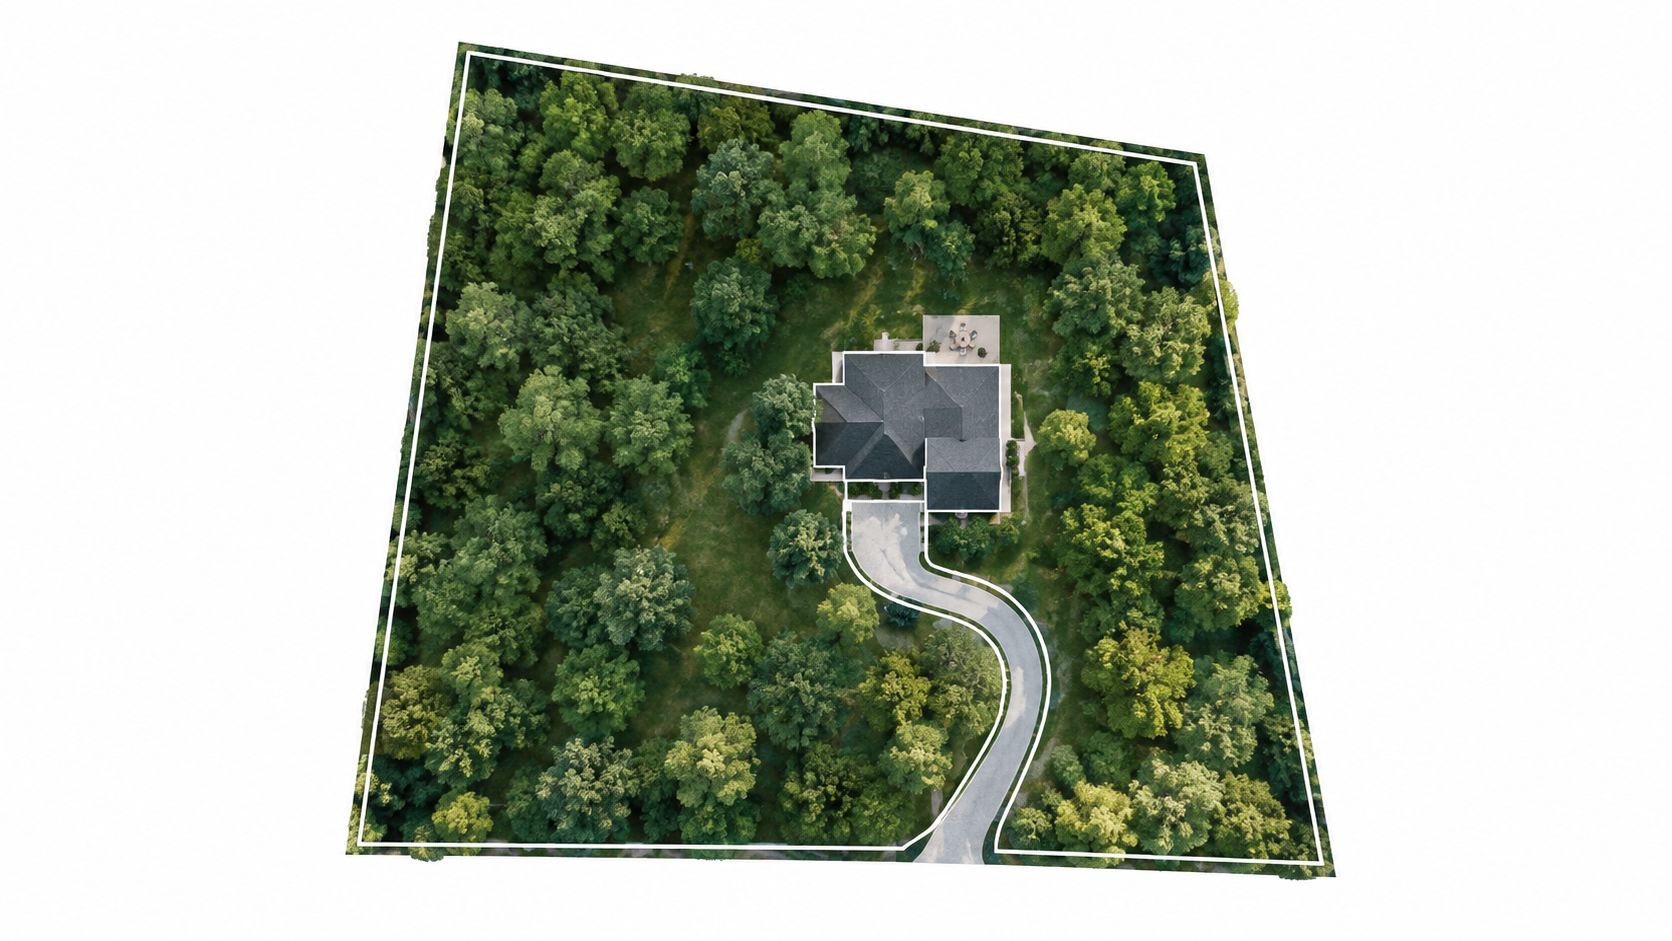
Begin with the building envelope, not a vague open area. Mark the foundation footprint, working room around it, material staging areas, and the rough grading limits. Then lay out the driveway from the public road to the house, including the route construction vehicles will use before the permanent drive is finished.
Mark what stays before marking what goes
Mature live oaks, post oaks, pecans, and desirable native trees should be identified before clearing begins. Mark trees to keep with unmistakable paint or flagging, and establish a visible no-entry zone around them. The protected area should follow the tree's dripline, the outer reach of its canopy, because heavy equipment can compact the soil over roots even when the trunk is untouched.
Fencing the dripline is more reliable than telling operators to “be careful.” Machinery, spoil piles, fill, parked trucks, and repeated passes can all damage root zones. Homesite clearing services from Fieldmark Land Co. can be evaluated alongside other contractors, but any contractor should receive the same marked limits and protection requirements.
Preserve drainage courses as well. A shallow swale or natural low route may look inconvenient on a dry day, yet redirecting it can send water toward the future pad, a neighbor, or a public road. Mark drainage paths, wet areas, fence lines, and property boundaries before deciding whether a tree or brush pocket is actually in the way.
Build a disturbance map
A practical layout separates the site into work zones:
- House pad: Mark the foundation area and the surrounding space needed for grading, compaction, utilities, and construction operations.
- Driveway corridor: Follow the most practical route for slope, drainage, turning, and future daily use rather than choosing the shortest line automatically.
- Septic or wastewater area: Reserve the approved area and its access needs before clearing vegetation that could later be needed for inspection or maintenance.
- Utility trenches: Coordinate routes with the home plan and avoid unnecessary cuts through preserved trees or drainage features.
- Retained terrain: Delineate shade trees, privacy screens, pasture edges, habitat areas, and any land that should remain undisturbed.
Use the smallest workable clearing footprint. A rural homesite usually gains more from deliberate edges and usable access than from a large bare expanse that needs replanting, drainage repairs, and ongoing weed control.
Choosing Between Selective Clearing and Forestry Mulching
Clearing methods should follow the desired result. If the finished property is meant to retain mature canopy, shade, privacy, and a natural Hill Country character, indiscriminate scraping is often the wrong starting point.
Traditional clearing with a bulldozer can remove trees, brush, stumps, and surface debris quickly. It also disturbs more soil, creates substantial debris-management decisions, and can bury or strip topsoil depending on how the work is performed. It makes sense where the entire footprint must be excavated, where dense stumps conflict with grading, or where the plan calls for a fully open pad and access system.
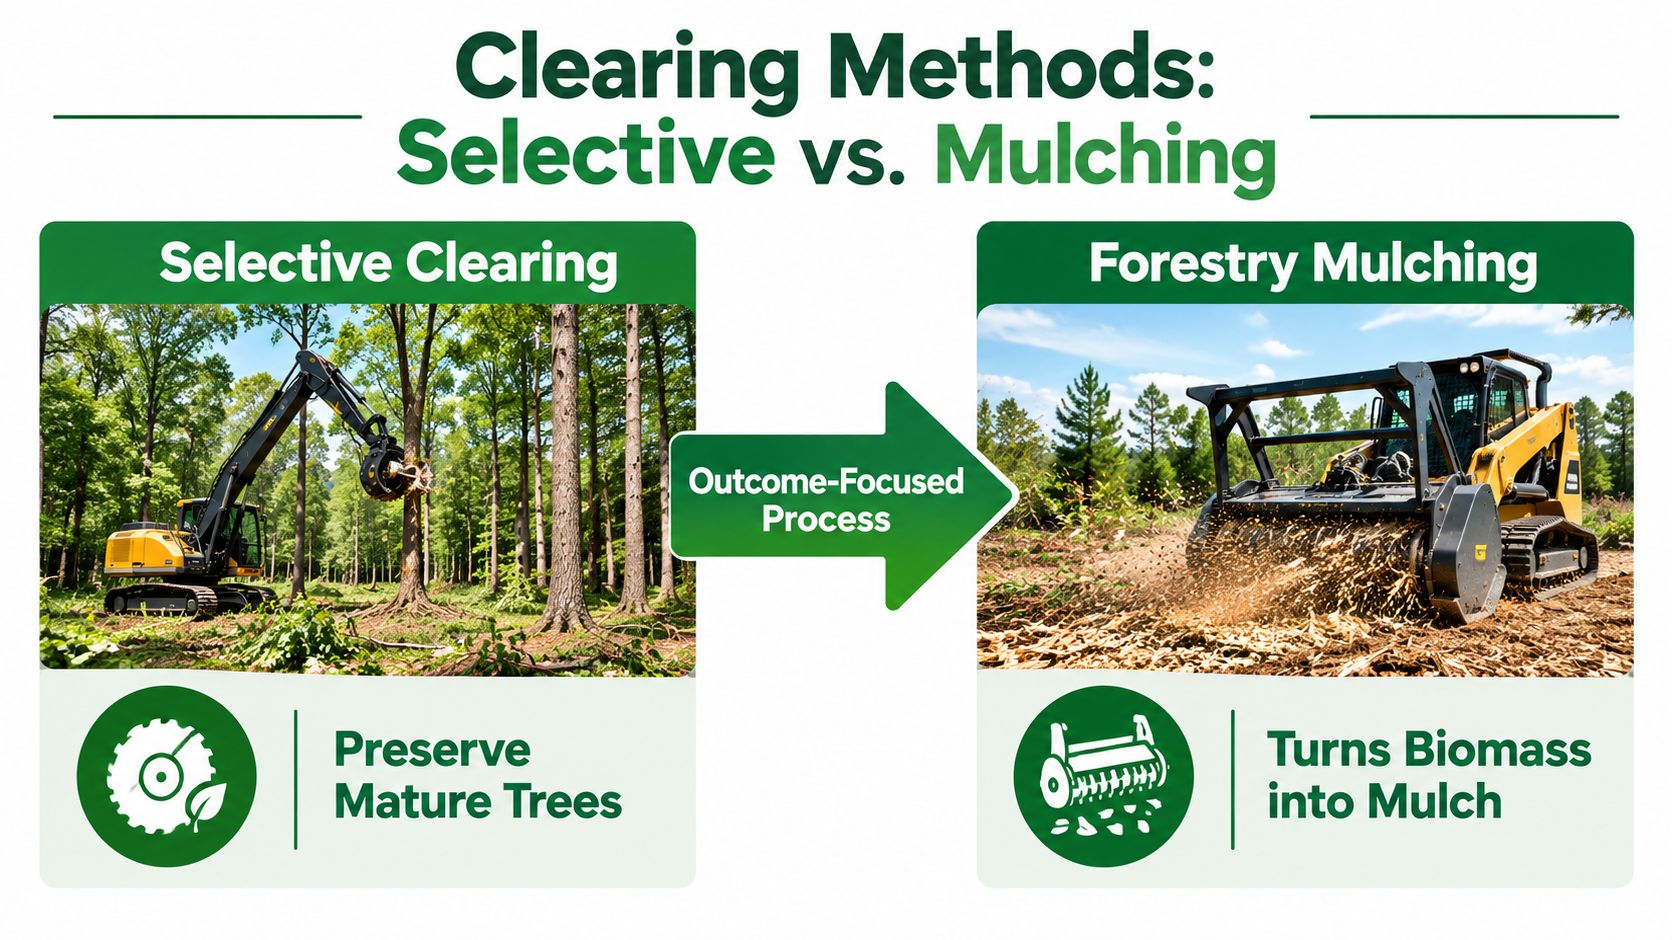
Selective clearing takes a narrower approach. Crews remove trees, brush, and understory that interfere with the house, driveway, utilities, sightlines, or planned use while retaining chosen vegetation. Invasive or undesirable growth such as cedar, yaupon, mesquite, and volunteer trees may be targeted without removing the mature canopy that gives the property shade and structure.
Match the method to the ground
Forestry mulching uses a specialized mulching head to process brush, saplings, and woody vegetation in place. The material remains as an organic layer on the surface where conditions allow, reducing the need to create large brush piles or haul every limb away. That layer can help cover disturbed ground, but it isn't a substitute for engineered erosion controls or a properly prepared building pad.
Selective clearing and mulching often work together. A crew may remove larger trees from the house footprint, mulch smaller growth along the driveway, and leave a protected stand between the home and the road. Around a future foundation, stumps and major roots may still need removal because the grading and compaction requirements are different from those of a trail or pasture edge.
| Method | Works well for | Main trade-off |
|---|---|---|
| Indiscriminate scraping | Full excavation areas, dense stump fields, fully open layouts | Greater soil disturbance and loss of retained vegetation |
| Selective clearing | Homesites needing shade, privacy, buffers, and defined access | Requires careful marking and operator judgment |
| Forestry mulching | Brush, saplings, and woody regrowth outside the pad | Leaves processed material in place and doesn't replace pad excavation |
Judge the finished property, not the machine
An hourly equipment rate doesn't tell you whether the result will be useful. A low-priced scrape can become expensive if it removes trees you later replace, pushes debris into drainage paths, damages the driveway route, or leaves a wide area of bare soil. Conversely, mulching can be a poor choice where material must be hauled away, where the pad requires deep excavation, or where buried obstructions make the work unsafe.
Ask each contractor to describe the finished condition. Will stumps be removed or ground? Will logs be retained, chipped, mulched, or hauled away? Which trees are protected? What happens to the soil surface? How will the contractor avoid compacting the root zones marked during layout?
The land-clearing service options described by Fieldmark Land Co. illustrate the broader decision: select a method based on vegetation density, access, terrain, and future use rather than assuming every parcel needs the same treatment.
Implementing Erosion Control and Phased Grading
The risky part of clearing often begins after the trees are gone. Vegetation holds soil, slows rainfall, and reduces the speed of runoff. Once the ground is exposed, a small residential parcel can send sediment into ditches, streams, neighboring land, and public drainage systems.
Construction-site erosion and sediment runoff has been estimated at 10 to 20 times higher than agricultural land and 1,000 to 2,000 times greater than forested land, with measured erosion rates of about 20 to 200 tons per acre per year. U.S. construction sediment losses have exceeded 80 million tons annually, according to the Iowa Water Center's construction stormwater guidance. Those figures explain why land clearing for a house isn't complete when the vegetation is removed. The exposed surface needs immediate management.
Install controls before disturbing soil
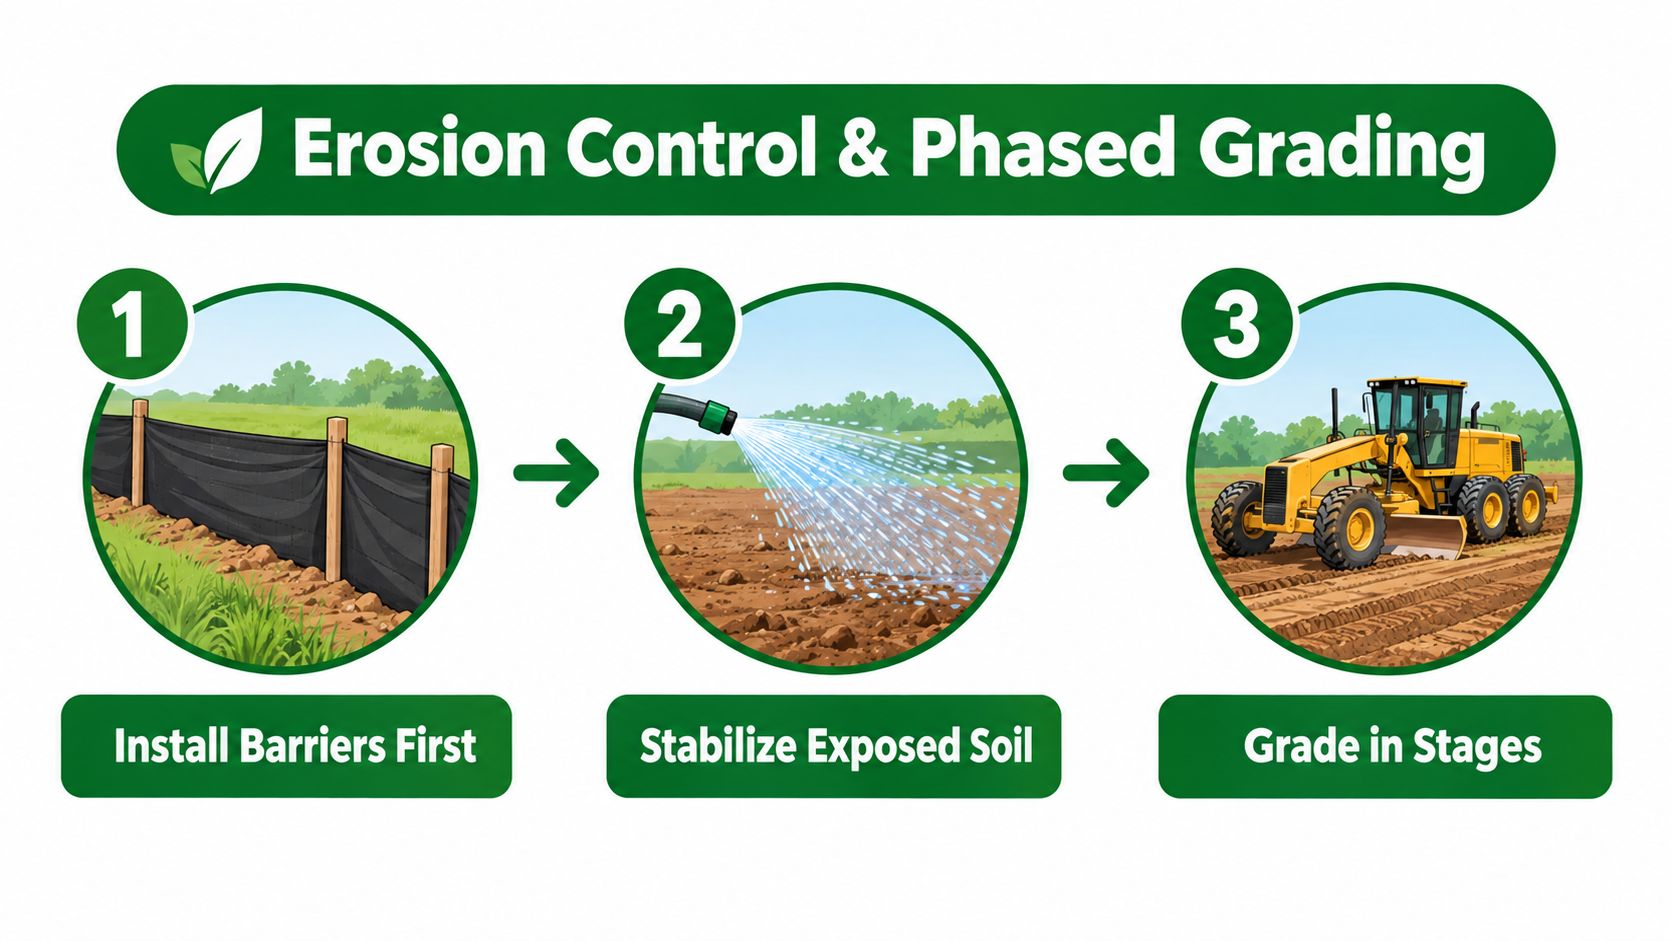
Install erosion and sediment controls before clearing or excavation wherever practical. Residential lot guidance recommends perimeter controls, inlet protection, and a stabilized construction entrance before grading begins, as outlined in the City of Ames homebuilding lot guide.
A workable sequence looks like this:
- Evaluate and mark the site: Identify clearing limits, drainage routes, protected trees, stockpile locations, and the construction entrance.
- Install perimeter controls: Place silt fencing or other approved barriers where sediment could leave the disturbance area.
- Protect inlets and waterways: Keep sediment away from storm drains, culverts, ditches, streams, and low points that convey runoff.
- Build the construction entrance: Use a properly stabilized entry to reduce mud and sediment tracking onto the road.
- Clear only the next work area: Avoid opening the entire property when the builder only needs one phase.
- Stabilize exposed ground: Use mulch, temporary seeding, or another suitable cover as soon as practical.
Controls don't work if they become buried, overtopped, torn, or clogged. Assign someone to inspect them after heavy rain and repair damage promptly.
Grade in phases, then stabilize
For larger residential or rural sites, New York standards recommend staged clearing and grading so unprotected disturbed areas remain under 5 acres at a time, as described in the New York residential development plan. A smaller homesite still benefits from the same principle. Clear the pad and access route when needed, complete the related work, and stabilize the surface before opening another area.
Keep topsoil separate from subsoil where the plan allows. Stockpile it away from drainage paths, protect the pile, and return it during final landscaping or revegetation. Protect retained trees before machinery arrives, and repair any rutting that could concentrate runoff toward the pad or a neighbor.
A county benchmark cited in residential guidance requires controls to remain until 70% of the disturbed area is stabilized. Other guidance calls for temporary controls to stay until permanent vegetation or another stable cover is established. Follow the standard governing your project, and don't remove barriers because the heavy equipment has left.
Budgeting for Site Preparation and Land Improvement
Site preparation isn't one line item. A realistic budget separates clearing, stump and debris handling, access, grading, erosion control, and compliance work. The machine that removes brush may not be the machine that prepares a foundation pad, and the cheapest clearing bid may exclude the work that makes the lot buildable.
A widely used benchmark places average home site preparation at about $3,800, with most homeowners spending roughly $1,300 to $5,600. Basic land clearing often falls between $500 and $2,000, while broader site preparation is commonly estimated around $1.50 to $5.00 per square foot. One common land-clearing estimate places the range at $1,500 to $5,000 per acre. These benchmarks come from a site-clearing cost guide, and actual bids can differ substantially.
| Project phase | Estimated cost range | Primary cost drivers |
|---|---|---|
| Basic land clearing | $500 to $2,000 | Vegetation density, equipment access, selective versus full clearing |
| General site preparation | $1,300 to $5,600 for most homeowners, with an average near $3,800 | Grading, access, cleanup, soil handling, and stabilization |
| Site preparation by area | $1.50 to $5.00 per square foot | Disturbance size, terrain, grading depth, and site conditions |
| Land clearing by acre | $1,500 to $5,000 per acre | Density, slope, access, stump work, and debris management |
The ranges aren't interchangeable. A basic brush-clearing price may not include stump removal, haul-off, driveway construction, pad compaction, or erosion controls. Ask for a written scope that states what the contractor will leave behind, not only what the crew will remove.
Account for the costs that hide in the scope
Vegetation thickness affects production. Slopes affect machine access and grading. Distance to a disposal site affects hauling. Wet ground can change the work sequence, while rock, buried debris, old fill, or tight access can require different equipment and additional handling.
Permitting may involve only a few hundred dollars in basic fees, while environmental surveys and stormwater documentation can push the compliance cost higher, according to the Michigan guidance cited earlier. The larger financial risk is often delay. A crew that has already mobilized may have to stop if an approval, inspection, utility check, or environmental condition was missed.
A selective approach can cost more in planning and precision than a quick scrape, yet preserve shade trees, reduce unnecessary disturbance, and leave less land needing landscaping or reclamation. Compare bids by finished outcome, including drainage, access, protected vegetation, stabilization, and cleanup. That comparison is more useful than choosing the lowest equipment rate.
Executing the Final Property Walkthrough
Heavy equipment leaving the property doesn't mean the job is finished. The landowner should walk the site against the written scope before signing off, preferably with the contractor and any person responsible for the next construction phase.
Start at the road and follow the construction entrance to the pad. Look for mud tracked onto the pavement, soft spots, damaged culverts, unsafe turns, and areas where trucks had to leave the planned route. The entrance needs to work for the next trade, not merely for the clearing crew that has already departed.
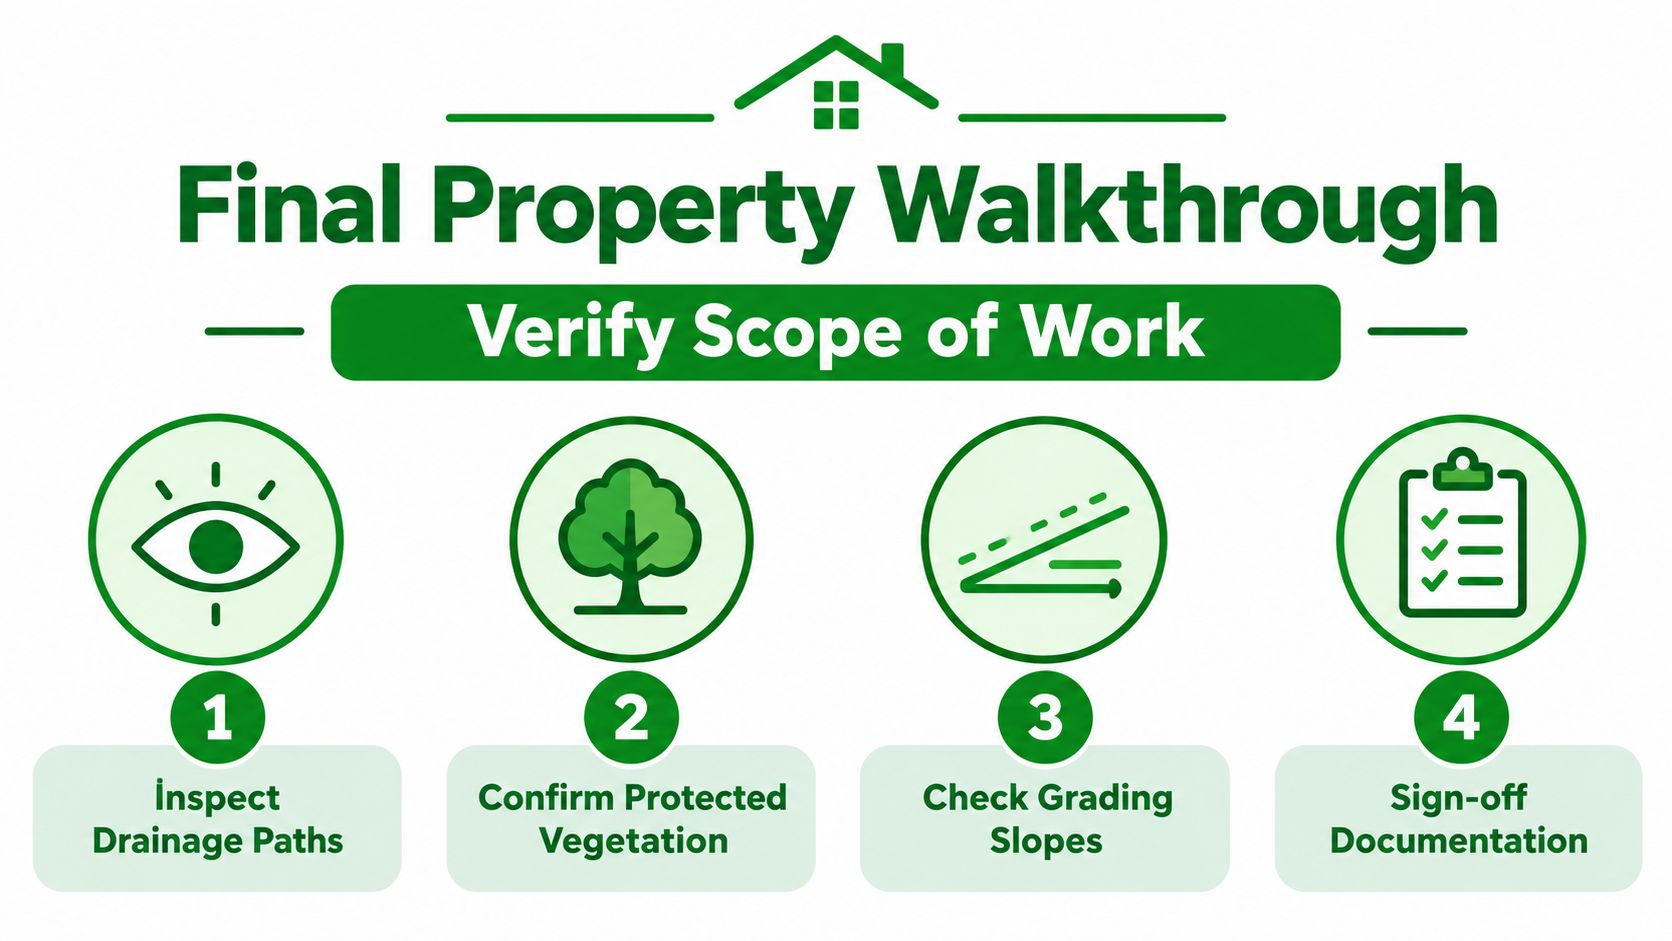
Inspect the site in a deliberate order
Walk the property after rainfall if the schedule allows. Water marks, fresh rills, standing water, and sediment deposits reveal problems that may not be visible during dry weather.
- Drainage paths: Confirm that natural swales, ditches, culverts, and outlet routes remain open and aren't blocked by slash, mulch, soil, or equipment ruts.
- Protected trees: Check trunks, exposed roots, lower limbs, and the soil inside each fenced dripline. Look for scraped bark, piled fill, compaction, or damage from machines.
- Building pad: Verify that the rough grade matches the plan, the pad has no obvious ponding areas, and the next contractor knows which areas still require excavation, fill, or compaction.
- Driveway and utility routes: Make sure access is clear, slopes are usable, and marked corridors haven't been narrowed by stumps, logs, or unstable edges.
- Clearing limits: Compare the actual result with the flags, survey, and agreed scope. Unplanned removal is difficult to reverse, so record discrepancies before approval.
Check controls and document the handoff
Perimeter barriers, inlet protection, stockpile covers, and the stabilized entrance should remain functional. If an exposed area has begun to erode, ask for repair and stabilization before the contractor closes the work order. Temporary controls should stay until the disturbed ground reaches the applicable stabilization standard, rather than being removed for appearance.
Take dated photographs from the road, pad, driveway, drainage routes, and protected tree areas. Keep the contractor's scope, disposal records if supplied, permit paperwork, inspection notes, and any agreed change orders together with the homebuilding documents.
Before you sign off: Confirm the land is not merely cleared. It should be accessible, draining as planned, protected where required, and ready for the next defined construction activity.
Write down incomplete items and assign responsibility for each one. A final walkthrough protects the property, clarifies the handoff to the builder, and helps prevent rework caused by a blocked drainage path, damaged tree, unstable entrance, or unfinished erosion-control measure.
Fieldmark Land Co. helps rural landowners around San Antonio and South-Central Texas plan and complete selective clearing, forestry mulching, brush removal, access improvements, and defined homesite preparation. If you're preparing acreage for a house and want the clearing limits, retained trees, access routes, and finished land use considered together, visit Fieldmark Land Co. to discuss a property walkthrough and project scope.